Nightography Techniques: Mastering Photography After Dark
Nightography Techniques: Mastering Photography After Dark
As a photographer, capturing the world after the sun goes down presents a unique set of challenges—and endless opportunities. Night photography, or "nightography," allows us to explore new lighting, dramatic contrasts, and magical atmospheres that simply don't exist during the day. Whether you’re shooting a vibrant cityscape or a quiet, starry night, mastering nightography requires a different approach compared to traditional daylight photography. In this article, I’ll share my top nightography techniques to help you take your nighttime photography to the next level.
1. Use a Tripod for Stability
One of the most important tools for night photography is a tripod. When you're shooting at night, you're typically working with slower shutter speeds to capture enough light. A tripod ensures your camera stays steady, preventing blurry images. Even slight camera movement can result in undesirable results like motion blur, especially in long exposure shots.
2. Shoot with a Wide Aperture (Low f-stop)
In low-light conditions, you want to maximize the amount of light hitting your camera sensor. Using a wide aperture (low f-stop number like f/1.8 or f/2.8) allows more light into the lens, which is critical for night photography. A wide aperture also gives you the added benefit of a shallower depth of field, which can help isolate your subject from the background and create a beautiful bokeh effect.
3. Increase ISO, But Be Careful
Increasing the ISO helps the camera capture more light, which can be crucial in night photography. However, too high an ISO can introduce noise (graininess) into your images. It's all about finding the right balance. Start with a lower ISO (e.g., 800 or 1600) and experiment. If your shots are too dark, gradually increase the ISO, but avoid pushing it too high, especially if you're shooting in a location with lots of light pollution or strong artificial lights.
4. Long Exposure for Light Trails and Movement
Long exposure is one of the most captivating techniques in night photography. By using a slow shutter speed, you can capture light trails from moving cars, stars, or even people. For example, shooting a busy street at night with a 10-15 second exposure will create beautiful trails of light from passing vehicles. When shooting long exposures, it's essential to use a tripod to keep your camera stable and avoid blurring your entire image.
5. Focus Manually
Autofocus struggles in low light, so manual focusing is often necessary for night photography. Whether you’re shooting city lights, stars, or landscapes, focusing manually gives you more control over your shot. For star photography, you can focus on a distant light or a far-off object like the moon to get sharp focus on the stars.
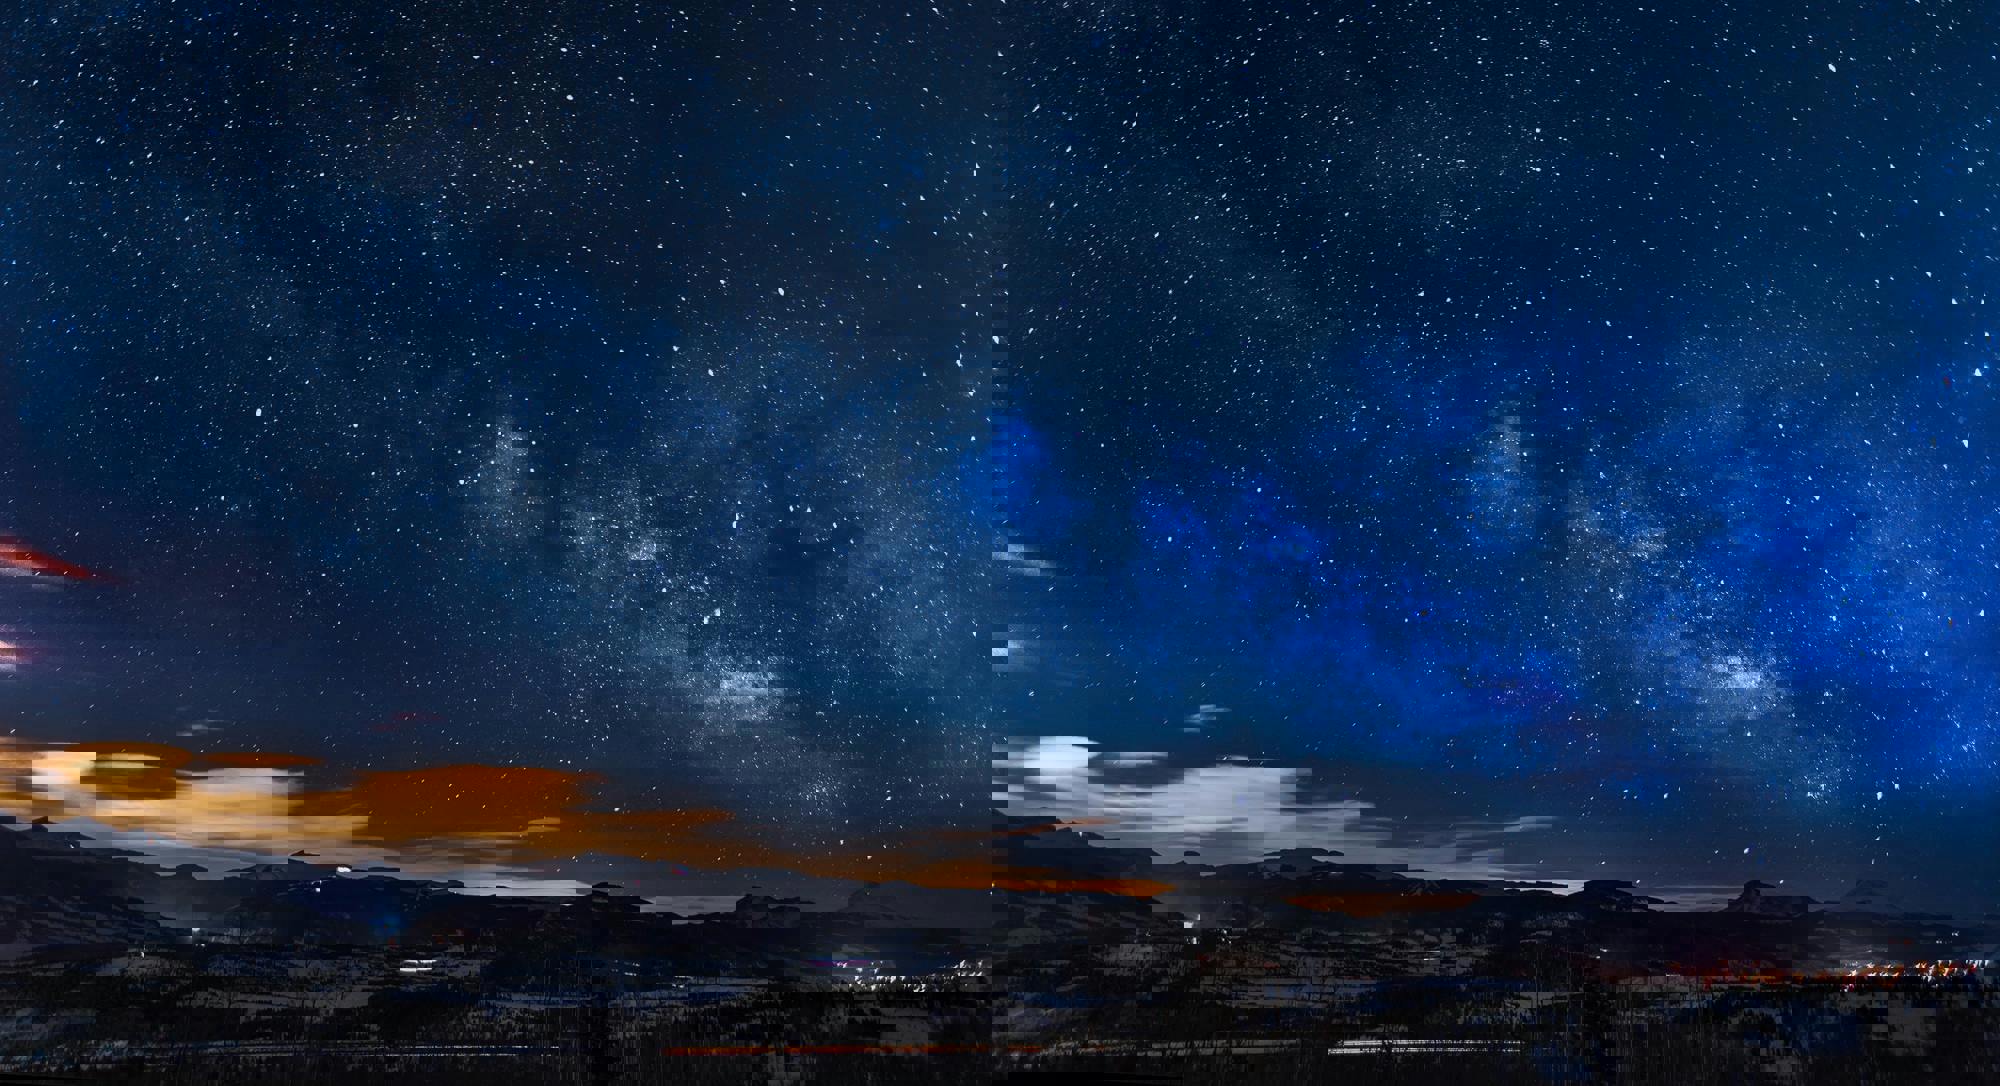
6. Capture the Stars with a Wide-Angle Lens
When photographing the night sky, a wide-angle lens is a must-have. A lens in the 14mm to 24mm range will allow you to capture a broader portion of the sky, perfect for shooting landscapes with stars, the Milky Way, or even the northern lights. A wide aperture lens (f/2.8 or faster) will help you gather more light and reduce the exposure time needed for capturing stars and other celestial objects.
7. Avoid Light Pollution
Light pollution from nearby streetlights or buildings can drown out the beauty of the night sky and create unnatural color casts. If you're shooting stars or landscapes, try to find locations away from city lights. There are many apps and websites that can help you track light pollution levels and find dark skies for the best stargazing opportunities.
8. Use the "500 Rule" for Star Photography
When photographing stars, you’ll need to adjust your exposure time to avoid star trails. The 500 Rule is a simple formula that helps you calculate the maximum exposure time before stars start to blur into trails. Divide 500 by the focal length of your lens (in millimeters) to get the maximum exposure time in seconds. For example, with a 24mm lens, you can expose for around 20 seconds (500 ÷ 24 = 20.8).
9. Embrace the Ambient Light
While most night photographers focus on capturing the darkness, don't forget to embrace the ambient light around you. Streetlights, neon signs, and even the glow of the moon can add warmth and texture to your images. Experiment with different light sources to create unique moods and atmospheres in your night shots. For example, reflections of city lights in puddles or windows can make for stunning and creative compositions.
10. Post-Processing to Bring Out the Magic
Post-processing is where you can enhance the magic of your nighttime images. Use programs like Lightroom or Photoshop to adjust the exposure, white balance, and contrast. If you're working with long exposures, you may need to adjust the noise levels and sharpen the image. Don’t be afraid to push the vibrance and saturation a little to make those night lights pop. Just be careful not to overdo it—natural-looking night shots often have subtle tones that are easy to overprocess.
Conclusion
Nightography offers photographers a chance to explore a new side of the world, full of intriguing lighting and endless creative possibilities. Whether you're capturing the beauty of city streets, the tranquility of the countryside, or the splendor of the night sky, the key to success lies in patience, experimentation, and the right technique. I hope these night photography tips will help you create striking images that showcase the world in a whole new light. So, grab your camera, head out into the night, and start shooting!